Showing posts with label Vegetable. Show all posts

Saturday, December 31, 2011

Homemade Cream of Mushroom Soup

Did I ever mention my love for cream of mushroom soup?

Yes, I am one of those who have no qualms opening a can of soup on a cold winter night. It wasn't until I want to try making green bean casserole from scratch that I discovered the ease of making cream of mushroom soup from scratch. Plus they taste so much better too when you make it fresh. And all the mushrooms you can add to the soup, if you are a mushroom lover like I am. Bliss.


Homemade Cream of Mushroom Soup
(Serves 4-6)


Ingredients
1lb mushrooms, sliced
3 cloves garlic, finely chopped
1 onion, chopped
3 cups of chicken stock
3 cups of fat free half and half or light cream
4 Tbsp of butter
2 Tbsp of olive oil ( you can use all butter but I prefer to cut down on the fat)
6 Tbsp of flour
1 bay leaf
salt and pepper to taste

Directions
1. In a large pot, melt the butter and olive oil over medium heat. Saute the mushrooms with a sprinkle of salt and pepper till mushrooms have released all the moisture and you can hear the sizzle of oil in the pot again. (about 8 minutes).
2, Add in the garlic and onion. Saute till onion is translucent.
3. Turn the heat down to medium low and add in the flour. Cook for 3 mins till flour is no longer lumpy.
4. Pour in the chicken stock. Turn the heat up to medium high. Cook till mixture comes up to a boil, stirring constantly. You really do not want a lumpy cream of mushroom soup.5. Add in the half and half or cream. Keep stirring till mixture comes up to a boil.
5. Turn heat down to medium low. Continue to stir while soup is cooking. You will want to reduce this till soup has thickened, about 10 minutes. Season with salt and pepper. Dish out and serve warm.

Wednesday, July 13, 2011

Homemade Zucchini Relish - The day I cook in a bucket

The first time I cook in a bucket was when I made Zucchini Relish last summer. Dad put in two zucchini plants for me last year and when they grow, they grow! Armed with an abundance load of zucchini sitting on the kitchen counter, I started searching high and low for zucchini relish recipe to use every single one that came out of my garden. I found one online and then mum's boss decided she will share with me her family's zucchini relish recipe. After comparing the two recipes I have obtained, there really is not much difference between the two except for her boss doesn't want me to share her family recipe with others.

Fear not, the one I found online is meant to be shared. It is equally as good. The best way to use the relish is of course with hotdogs and hamburgers. However, if you are not a fan of either, try using the relish in tuna salad, egg salad and the likes. Do not let the long winded process deter you from making your own relish at home. The end result is so good so that the off-the-shelf relish tasted bland in comparison. The sweet tangy zucchini relish is good in wraps with tons of lettuce, cucumber and tomatoes too.


Homemade Zucchini Relish
(Adapted from Johnson)
Ingredients
10 cups unpeeled zucchini, coarsely grated
4 cups onion, chopped
1 large red bell pepper, chopped
1 4oz can chopped green chiles
3 Tbsp canning salt
3 1/2 cups sugar
3 cups white vinegar
4 tsp celery seed
1 tsp black pepper
1 Tbsp ground turmeric
1/2 tsp ground nutmeg

Directions

 
Step 1: In a large bowl, or in my case a large bucket as I was making a huge quantity, combine all the chopped vegetables.

Step 2: Add in the canning salt. Mix to combine well. The salt is important to draw out the moisture from the vegetables.

Step 3: Cover bowl or bucket with plastic wrap and foil. Place in the fridge or a cool dry place overnight.

Step 4: The next day, washed and drained the vegetables. Ensure that they are thoroughly drained.

Step 5: In a large pot, combine sugar, black pepper, celery seed, turmeric and nutmeg.

Step 6: Add in vinegar and stir to combine.

Step 7: Bring mixture to a boil.

Step 8: Add in zucchini mix and let simmer for 10 minutes.

Step 9: Once relish has cool somewhat, divide relish between clean jars.

Step 10: Bring a large pot of water to boil. Submerge jars into boiling water. Boil for 10 minutes. Remove and set out to dry. Repeat with remainder jars.

Step 11: Leave jar on kitchen towel. Let cool to room temperature before storing in pantry. Refrigerate the relish after opening the jar. It will keep well in your pantry if left unopened for at least 3 months, depending on how you store it.

Tuesday, June 14, 2011

Avocado Milk Shake (Shin To Bo or Es Alpukat)

I had my first taste of Avocado Milkshake on a trip years ago to Surabaya in Indonesia. When we moved here to the States, the popular Banh Mi joint in Chinatown sells the Vietnamese Avocado Milkshake or Shin To Bo. I have been a huge fan ever since my first taste of Es Alpukat in Indonesia but always limit my consumption of the dangerously addictive milkshake as it is a calorie nightmare for everyone. Which is why I still could not understand people who drinks smoothie whilst on a diet. I guess whatever works for them.

The difference between the Vietnamese Avocado Milkshake and the Indonesian's Es Alpukat is the addition of chocolate syrup into the glass before pouring in the avocado shake. I have had version of Es Alpukat in Indonesia where the vendor used vanilla ice-cream to make the concoction instead of just regular sweetened condensed milk and ice. However way you decide to make this, all I can say is, it is the perfect drink in the summer weather.

Avocado Milkshake
(Serves 3-4, really)

Ingredients
1 medium ripe avocado
6 Tbsp sweetened condensed milk
1 cup of ice
1/3 cup of whole milk
Chocolate syrup (optional)

Directions

Step 1: Remove the seed and skin of an avocado. Place avocado inside a blender.

Step 2: Mix in sweetened condensed milk and whole milk.

Step 3: Add in the ice cubes. Pulverize till smoothie is thick and smooth.

Serve as is or swirl a tall glass with chocolate syrup before adding in the avocado milkshake to make es alpukat.

Monday, June 13, 2011

Basil Parsley Pesto

My herb garden is going great this year. So great so that my parsley and basil plants outgrown their pots after 2 weeks of planting it, which inadvertently bring me to this post. Basil Parsley Pesto. Now, I am not a big fan of pesto as the strong basil flavor tends to be a little too overpowering to me. Throw in some parsley into the mix, now that is a pesto that I can truly enjoy.

On another note, I won 12lb worth of corn pasta from Deborah's website , my favorite all time go to place whenever I am searching for a great Italian recipe. Absolutely love the corn pasta. It is gluten free and I am glad that it did not alter the flavor nor the texture of regular pasta. Will definitely continue to use gluten free pasta from this point forward.


Basil Parsley Pesto
Ingredients
1 cup basil leaves, packed
2 cups parsley leaves, packed
1 clove garlic, peeled
A handful of pine nuts or walnuts
1/2 to 3/4 cup olive oil
1/4 cup grated Romano or Parmesan cheese
salt and pepper to taste

Directions
 Step 1: Washed and pat dry the herbs.

Step 2: Have all the ingredients ready.

Step 3: In a food processor, pulse the walnuts till fine.

Step 4: Add in garlic and pulse to mix well.

Step 5: Add in all the herbs and pulse till fine. Drizzle in olive oil.

Step 6: Dish out the pesto into a bowl. Add in the grated cheese. Season with salt and pepper.

Toss pesto with your choice of pasta. Serve warm or at room temperature.


Monday, May 23, 2011

Warm Pastina Salad

I have a box of dried pastina sitting in the pantry for a while now. Initially, mum wanted to do something with it. That didn't happen. I wasn't in the mood for soup but thought I should be able to make a pasta salad with it. For those of you who has never use pastina, it is a small star shaped pasta that the Italians love using in soup for little children.


I like pastina as it is light and easy on the stomach. To jazz it up, I used the Chimichurri dressings which I have made previously and sauteed some vegetables to go with the pastina. The result is a quick and easy meal. Good enough on its own!

Warm Pastina Salad
(Serves 4)
Ingredients
1 cup dried pastina
5 Tbsp Chimichurri dressings
1 cup shredded cabbage
1/2 cup diced bell pepper
1/2 onion, finely diced
1 clove garlic, finely chopped
2 Tbsp olive oil
Dash of white wine
Zest of 1 lemon
Juice of 1 lemon
Salt & Black Pepper to taste

Directions
Step 1: Boil the pastina according to package direction. Drain well with a fine mesh strainer. Set aside.

Step 2: In a pan, heat 2 Tbsp olive oil. Saute the onion and garlic till onion is translucent.

Step 3: Add in the vegetables. Season with salt and pepper. Add in a dash of wine to help create steam to soften the vegetables. Cook for 3-5 mins till vegetables has softened slightly but still retain its crunch.

Step 4: In a large bowl, combine the sauteed vegetables, chimichurri dressings, lemon zest and juice. Season with more salt and pepper, if necessary.

Serve at room temperature or cold. It is perfect as a meal on its own or a side dish.


Friday, May 20, 2011

Lemon Orzo Verde with Cojita Cheese

I am officially in the "I love Orzo" community. With the arrival of the grilling season, pasta salad is a constant feature on the family dinner table. And what is better than a cold pasta salad as a side dish to accompany any grilled meats which you will be serving. Honestly, this lemon orzo verde salad is so perfect on its own. The only thing I will add to it is Mexican Cojita Cheese which resembles Greek's Feta minus the saltiness. Now, this is what I called "Yummy-licious!"

Lemon Orzo Verde with Cojita Cheese
(Serves 4)
Ingredients
1 cup dried orzo
1/2 tsp salt
5 cups of water
1/4 red onion, finely diced
2 cloves garlic, finely chopped
2 Tbsp canola or olive oil
A dash of white wine
2 cups sliced green beans or asparagus
1 cups diced bell peppers or 2 cups spinach leaves
Juice from 1 fresh lemon
Zest of 1 lemon
1/3 cup olive oil

salt and black pepper to taste
3 Tbsp freshly chopped parsley and chives
1 cup crumbled cojita cheese

Directions
Step 1: In a pot, bring 5 cups of water and 1/2 tsp of salt to a rolling boil. Add in orzo. Cook 10 minutes. Drain and set aside.

Step 2: In a pan, heat 2 Tbsp of olive or canola oil. Saute onion and garlic till aromatic. Add in green beans and bell pepper. Cook till softened slightly yet still retain its crunch. Add a splash of white wine to help steam the vegetables but do not cover the pan. You do not want the vegetables to be too soft.

Step 3: In a large bowl, combine lemon juice and lemon zest. Whisk in 1/3 cup of olive oil.

Step 4: Mix in cooked orzo and sauteed vegetables. Season with salt and pepper to taste. Add in freshly chopped parsley and chives. Serve warm, at room temperature or cold. Sprinkle some crumbled cojita cheese on top of the orzo salad.

Thursday, May 19, 2011

"New" Southern Sweet Potato Pie

No, I do not have an obsession with sweet potato pie. I know I have posted a recipe months ago but feel that I should at least try making the southern take on the pie. After all, it did originate from the south.

Does it taste different from the previous New England style recipe? Definitely. Which one do I prefer more? This one. The big difference is the amount of sugar, butter and evaporated or canned milk called for in most southern sweet potato pie recipe. Plus, they are not that into the ginger, cinnamon and nutmeg spicing unlike us in the north. Of course I will adjust the flavoring and sugar content in the pie to suit our palate. The few recipes I have researched online called for way too much sugar in the pie, which I do not think it needs. This improvised version is so good that it takes all superhuman power in me not to eat it all in one sitting. Sweet Potato, anyone?

Southern Sweet Potato Pie (Makes 1 9-inch pie)
Ingredients

-For Pie Crust
1 1/3 cup all purpose flour
1/2 tsp salt
1/2 cup shortening
3-4 Tbsp iced cold water

-For Sweet Potato Pie Filling
2 large sweet potatoes or 2 1/2 cups mashed sweet potato
1/4 cup softened butter
1 12oz can evaporated milk
3/4 cup sugar
1 large egg, beaten
1 tsp ginger powder
1/2 tsp cinnamon
1/2 tsp nutmeg
1/2 tsp salt

Directions
Step 1: Make the pie crust. Combine flour with salt and shortening. Using a pastry cutter or two forks, cut shortening into all flour until mixture resembles coarse bread crumbs.

Step 2: Add in water to mixture. Start with 3 tablespoon of iced water. Incorporate it well into the flour mixture. Add another tablespoon of water if it is not moist enough.

Step 3: Gather dough into a tight ball. Wrap with plastic wrap and let rest in the refrigerator for 30 minutes.

Step 4: Preheat the oven to 475F or 246C. In a large mixing bowl, beat the mashed sweet potato with an electric mixer till it is smooth, about 5 minutes.

Step 5: Add in butter and incorporate well into filling.

Step 6: Add in the sugar. Mix well.

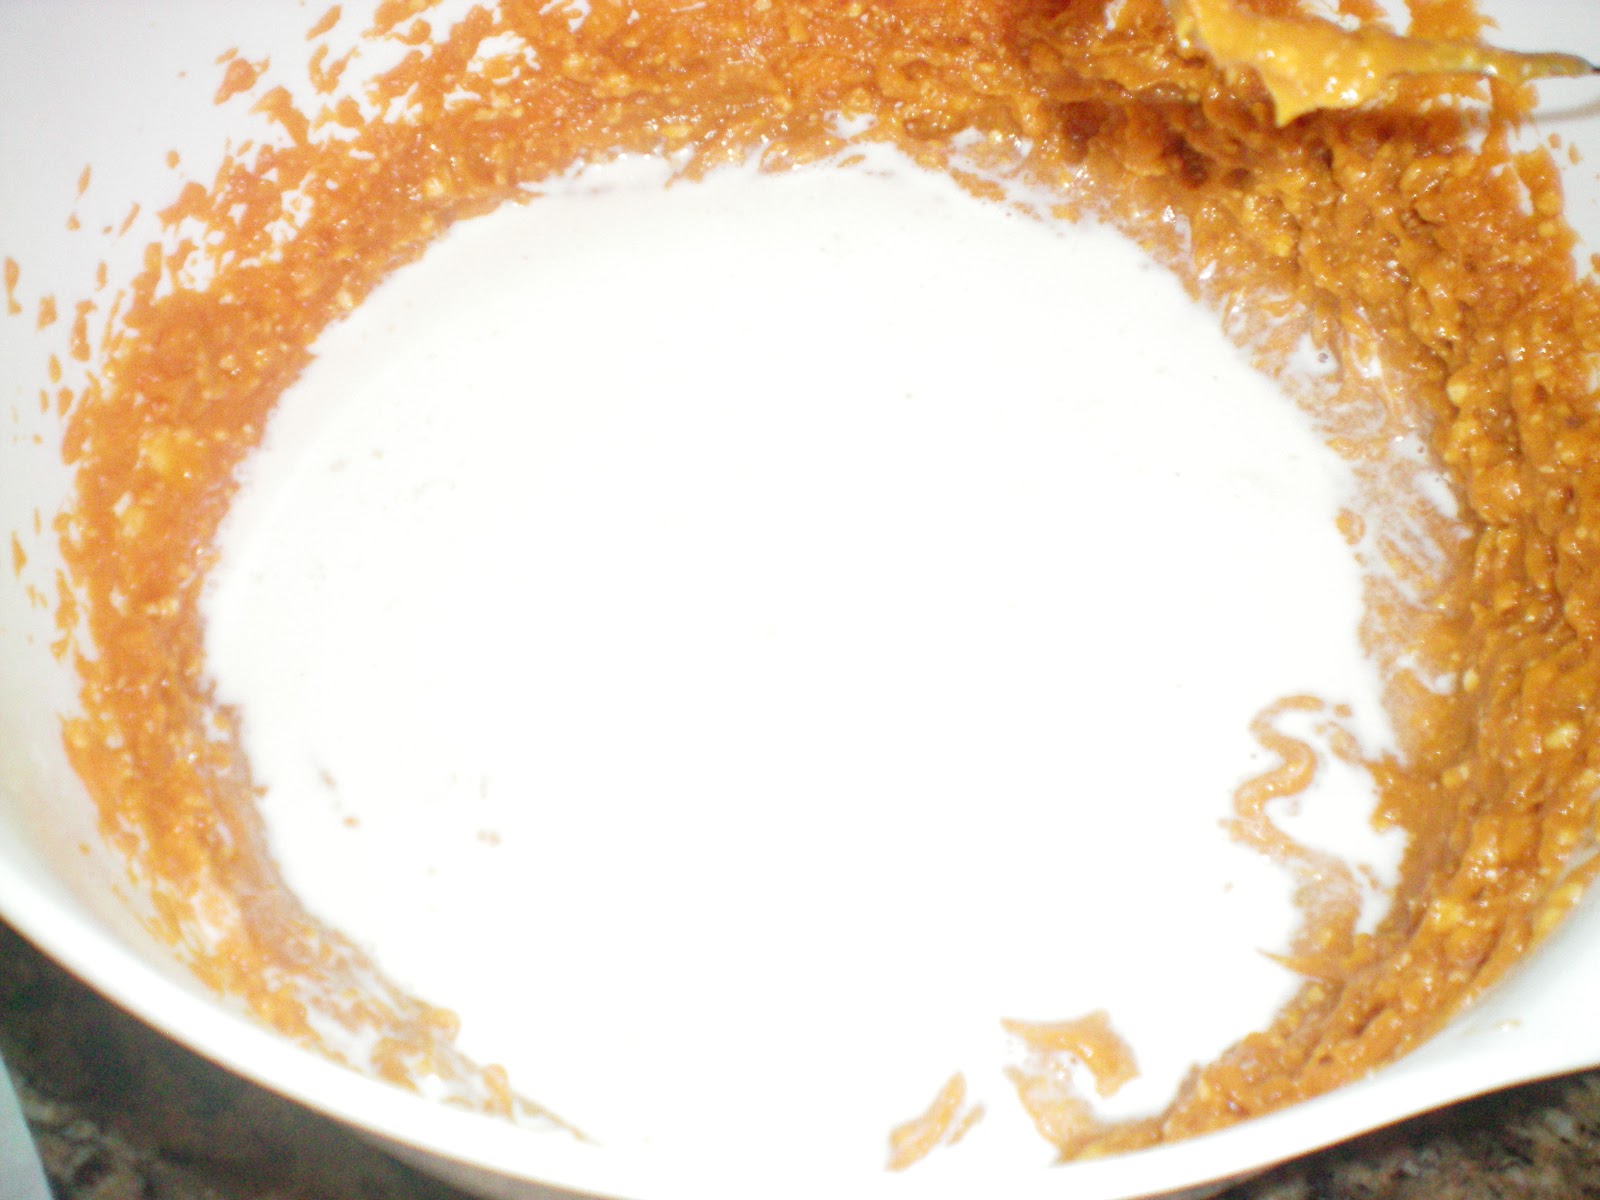
Step 7: Add in the egg and beat well into the filling mixture. Add in the cinnamon, nutmeg, ginger and salt. 

Step 8: Add in the condensed milk. Mix well into the sweet potato filling.

Step 9: Place dough crust in between two sheets of wax paper. Flatten the dough slightly to a flat disk.

Step 10: Roll pie crust out into 11-inch in diameter. Peel off wax paper carefully.

Step 11: Fit dough onto plate, making sure that it is snugly fit into the bottom and side of the pie plate.

Step 12: Gently, tug the overhanging dough underneath itself onto the edge of the pie plate.

Step 13: Crimp the edges of the pie.

The pie crust should look like this once done.

Step 14: Place pie crust onto a baking sheet. Carefully, pour the pie filling onto crust. Smooth it out with the back of a spoon. Bake at 475F for 20 minutes. Lower the oven temperature to 375F or 190C. Continue to bake for 45 minutes till filling is set.

Let pie rest till cool on a wire rack. Wrap the pie with plastic wrap. Refrigerate for at least 5 hours, preferably overnight before serving. Best serve chilled with a dollop of whipped cream.

 The amazing sweet potato pie.