Showing posts with label Pasta. Show all posts

Monday, June 3, 2013

Char Kueh Kak - Malaysian Fried Rice Cake

Comfort food is a funny thing. It can be something that you don't find easily these days or just plain accessible at the grocery store. Whatever it is, there is something about this comfort food which brings us back to childhood. Ah....those happy times where you have no worries in the world, where the only crisis in your life is whether mom and dad did get you what you want for birthday or Christmas.

Having moved from Malaysia to the States some years back, my definition of comfort food is definitely something which I cannot find at any grocery store here. Every now and then, a candy from yesteryear will pop up at some Asian grocery stores near my house. But that just won't do cos unlike many children my age at the time, I have never develop a sweet tooth. My kinda comfort food have always been savory in nature, call me weird.


One of them is Char Kueh Kak. If you are from Malaysia, and have either live in Kuala Lumpur or Penang, you will know exactly what I mean. No, not the stir fried radish cake you can get a dim sum place cos those are radish cake. A true blue char kueh kak you can find in a roadside eatery is made out of nothing more than plain rice cake stir fried with preserved cabbage, beansprouts, chives/scallions, and an egg. They probably use a ton of dark soy sauce to give it that glistening dark color, and yes, they use pork lard to stir fry that tasty concoction.

Should you have anything against pork fat, stop reading right now. I mean, now.

To make a true blue KL/Penang hawker style Char Kueh Kak, you will need to make your homemade rendered pork fat with the crispy bits. No, your primary care physician and cardiologist should not know about this. Heck, my primary care physician will probably fire an array of reasons on why I should not eat this. Whatever he doesn't know, won't hurt him, right?

Truly, he can't say a thing about my minuscule consumption of pork lard to make this dish when he himself is a deep fried chicken fanatic?

To make the authentic Char Kueh Kak I so love as a child, there are some works involved. Rest assure, all your hard work shall be duly rewarded if you follow this recipe. I promise!

Malaysian Homemade Char Kueh Kak
(Adapted from Minty's Kitchen)

For the Kueh
110g Rice Flour
2 Tbsp Tapioca Starch
1 Tbsp Wheat Starch
1/2 cup of cold water
1 1/2 cup of boiling water
1 Tbsp oil
1/2 tsp salt

For the Char Kueh Kak
3 Tbsp Rendered Pork Fats
3-4 Tbsp Dark Soy Sauce
1/2 - 1 tsp Garlic Chilli Sauce
2 Cups Beansprouts
2 Stalks Scallions
A handful of chives
1 Tbsp Preserved cabbage (Chai poh)
2 eggs, lightly beaten

Directions
1. Make the kueh. Preheat a steamer filled with water half way. Let the water come up to a rolling boil and turn the heat down to medium low.
2. Meanwhile, in a large bowl, combine all the kueh ingredients except for the boiling water. Whisk tills get a smooth thick batter. Then, slowly stir in the boiling water while whisking vigorously. 
3. Place a 9-inch oiled pan I the steamer and let it heat up for about a min. Slowly, pour in the batter mix.
4. Steam the kueh for 25-30 mins till a toothpick inserted into the center of the kueh comes out clean. Remove and let cool completely.
5. Once cooled, cut the kueh into bite size pieces. Store in a large ziplock bag and refrigerate overnight.
6. The next day, cut up the pork fat into small pieces and render the fat out till u get about 2-3 tablespoon of liquid fat. You can do this by placing the fat in a non-stick pan over low heat for 10-15mins.
7.Prepare all the other ingredients. 
8. Using the same non- stick pan, add a tablespoon of the pork fat and pan fried the kueh till they turn lightly golden brown and a hard skin is formed. This step is important in order to avoid mushy char kueh kak.
9. Pan fried the kueh in batches. Set aside.
10. Next, in the same pan, add in the remainder of the pork fat and crunchy bits. Turn heat up to medium.
11. Saute the chai poh, chinese sausage (if using), and garlic till it is lightly browned.
12. Add in the garlic chilli sauce and stir fried till you get a nice spicy aroma.
13. Add in all the kueh and dark soy sauce. Stir till all the kueh has a nice dark color to it.
14. Next goes the bean sprouts, scallions, and chives. Continue to stir fry till the bean sprouts wilted slightly. Bout a minute.
15. Using your spatula, make a space in the center of the pan. Crank up the heat all the way to high. Stir in the lightly beaten eggs. Count to 20.
16. Immediately, cover the eggs with the kueh and vegetables. Stir fry all the contents till you can see specks of eggs assimilated with the rest of the ingredients.
17. Dish out and serve whilst hot.


Wednesday, May 23, 2012

Homemade Silver Needle Noodle aka Lou Shu Fun

I forgot which famous figure once said invention comes out of desperation or something to the tune of improvisation comes out of desperation but recently, I find that saying is true. Just the other day when I thought of something to do which will fulfill my target of "Doing Something For the First Time" (more about that some other time), I came across this blog page which I have bookmarked for ages now.

An hour and a half later, this is what happened.
Now, if you live in Asia where you can get this noodle anytime you want, you really have no purpose making this at home. I will advise you not to cos it is very time consuming and all you get out of this is a cup of the noodle. However, since I do not live in Asia anymore and I can't for the life of me find this in the Asian grocery I frequent, that will have to do.

To reward myself for all the hard work, perseverance, and that moment of adding another item to my first time list, I make myself a delicious bowl of minced meat silver thread noodle, of course. Who wouldn't? Honestly, the end result is so good that I don't think I will mind making this again in....say......next year?

Silver Needle Noodle (Adapted from Do What I Like)
Ingredients:
140g wheat starch
60g tapioca starch
pinch of salt
170ml boiling hot water
2 tsp olive oil

Method:
1. Put all the dry ingredients into a mixing bowl. Add in the boiling hot water and stir with a pair of chopsticks. Cover with a wet towel and leave to cool for 5 minutes.
2. Add in the olive oil and knead till you get a smooth dough.
3. Roll into two log-shaped pieces and cut them into small pieces about 3g each. Shape dough with your hands.

4. Put some oil into a big pot of hot water and cook the noodle till transparent.

5. Once the noodle is cooked, drain and put them into a mixing bowl, add one teaspoon of olive and toss the noodle around (to prevent them from sticking to each other). The noodles turn transparent after rinsing in cold water. I'd say you should probably boil it for at least 10 minutes before draining the noodles and rinse it under cold running water. Remember to stir the noodles while boiling to avoid them from turning into a hot boiling glue in the water.
6. Chilled overnight before using.


Saturday, December 31, 2011

Shrimp Scampi

The easiest meal ever, if you are cooking for one, two, three or more......

Really, how easy can this get? Boil the pasta, cooked the shrimp in a mix of butter, olive oil, garlic and some italian seasoning or freshly chopped parsley and oregano. This meal is so simple yet so good. I am in love...

Shrimp Scampi (Serves 3-4)
Ingredients
1lb jumbo shrimps (about 19-21 in a one pound bag)
2/3lb to 1lb of pasta, preferably angel hair or thin spaghetti
1tsp salt
4Tbsp butter
4 cloves garlic, chopped
1 tsp dried Italian seasoning or 1 Tbsp freshly chopped parsley and oregano
4 Tbsp olive oil

Directions
1. De-shelled the shrimps. Set aside.
2. Bring a large pot of water to boil. Add the teaspoon of salt into the boiling water. Add in pasta. Cook pasta according to directions (about 10 minutes). Drain and set aside.

3. In a large pan, heat olive oil and butter over medium heat. Add in garlic and shrimp. Saute till shrimp is cooked, about 5 minutes.

4. Add in pasta and stir till well coated with oil and garlic.
5. Add in the Italian seasoning or freshly chopped herbs.
6. Give it a quick toss and the pasta is ready to serve.
7. I threw in some grated romano cheese onto the shrimp right before serving. Yes, I know, I should not add cheese into my seafood as every Italian grandma will say. But I like it and it is my plate. This recipe is so simple yet so satisfying. 

Monday, June 13, 2011

Basil Parsley Pesto

My herb garden is going great this year. So great so that my parsley and basil plants outgrown their pots after 2 weeks of planting it, which inadvertently bring me to this post. Basil Parsley Pesto. Now, I am not a big fan of pesto as the strong basil flavor tends to be a little too overpowering to me. Throw in some parsley into the mix, now that is a pesto that I can truly enjoy.

On another note, I won 12lb worth of corn pasta from Deborah's website , my favorite all time go to place whenever I am searching for a great Italian recipe. Absolutely love the corn pasta. It is gluten free and I am glad that it did not alter the flavor nor the texture of regular pasta. Will definitely continue to use gluten free pasta from this point forward.


Basil Parsley Pesto
Ingredients
1 cup basil leaves, packed
2 cups parsley leaves, packed
1 clove garlic, peeled
A handful of pine nuts or walnuts
1/2 to 3/4 cup olive oil
1/4 cup grated Romano or Parmesan cheese
salt and pepper to taste

Directions
 Step 1: Washed and pat dry the herbs.

Step 2: Have all the ingredients ready.

Step 3: In a food processor, pulse the walnuts till fine.

Step 4: Add in garlic and pulse to mix well.

Step 5: Add in all the herbs and pulse till fine. Drizzle in olive oil.

Step 6: Dish out the pesto into a bowl. Add in the grated cheese. Season with salt and pepper.

Toss pesto with your choice of pasta. Serve warm or at room temperature.


Wednesday, June 8, 2011

Orzo Rice Pilaf

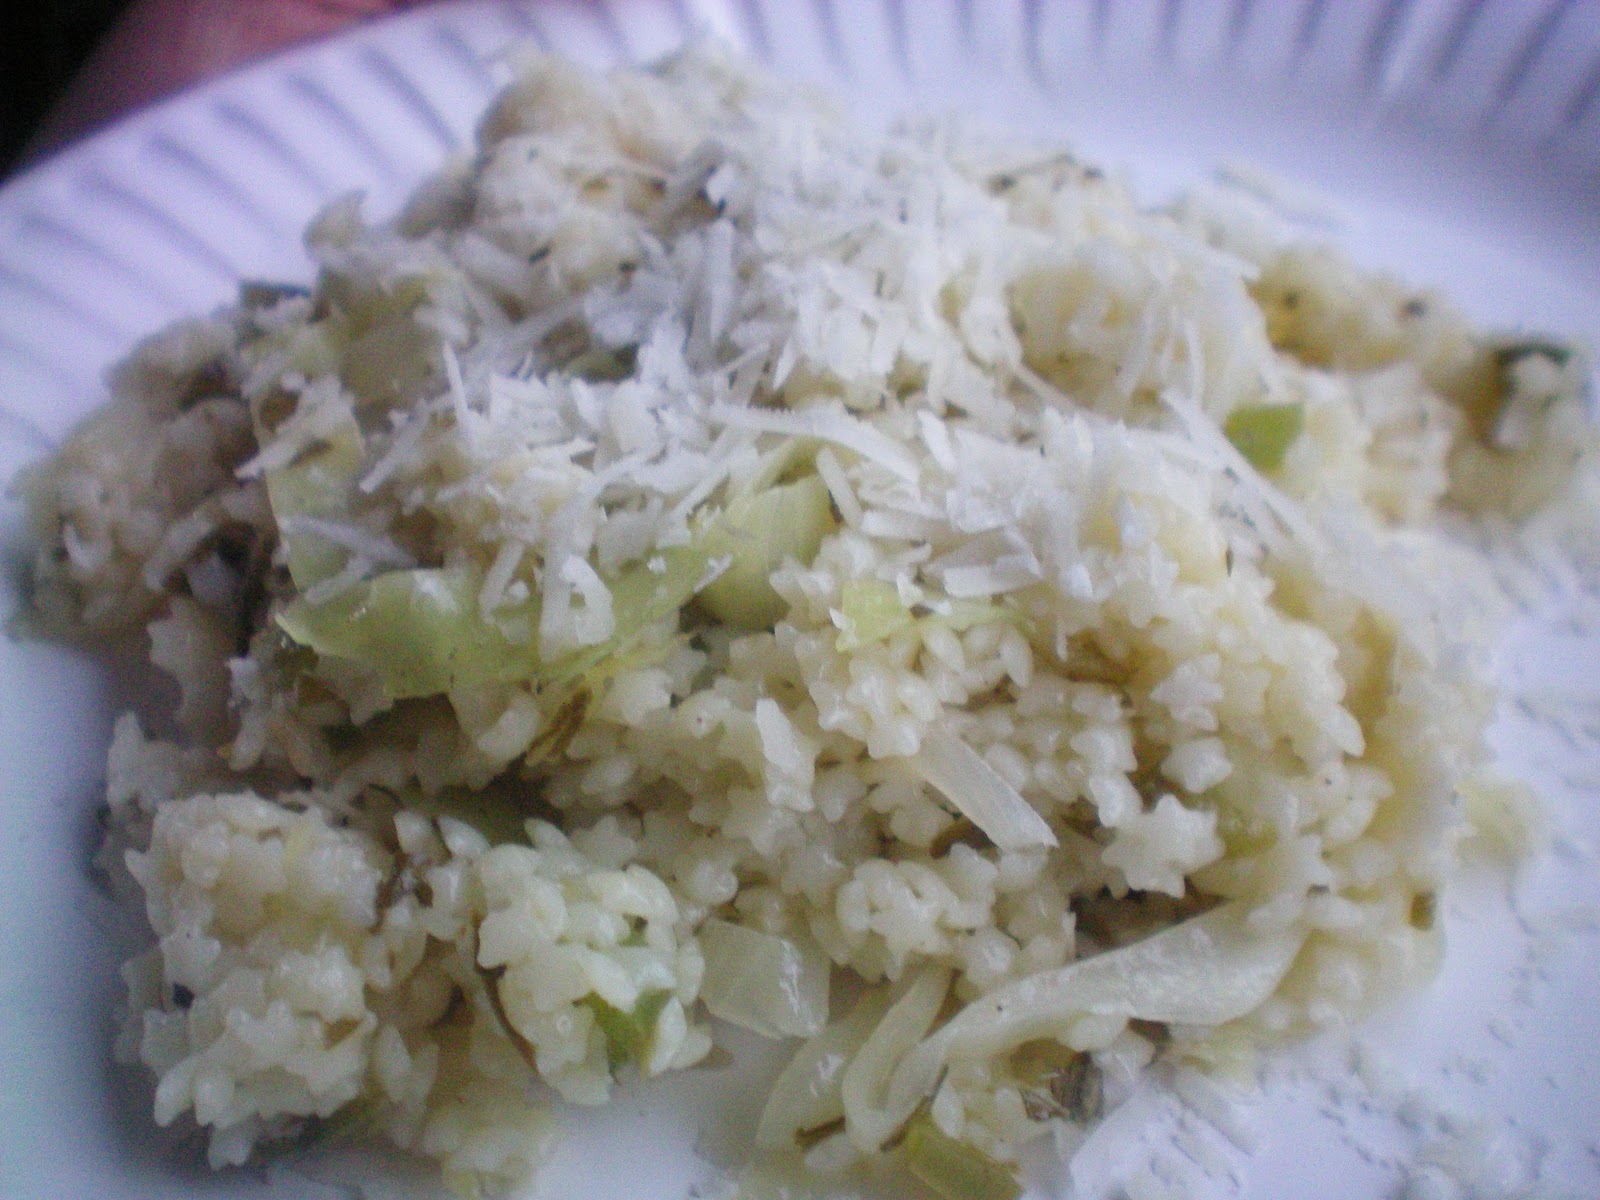
It is good to be on vacation and then be back from vacation although the cooking side of me do get a little rusty. Sifting through my recipe index yesterday, I noticed I have yet to post a recipe for my Orzo Rice Pilaf. How I let that recipe slipped off my blog I have no idea. I love making orzo rice pilaf as it is simple, flavorful and a great way for me to use my herbs. The nutty flavor of toasted orzo combined with vegetables, herbs and chicken stock, heavenly! By the way, my herb garden is going great. All the fresh herbs to be had in the summer, life is great!

Orzo Rice Pilaf
Ingredients
1/2 cup uncooked orzo
1/2 cup long grain or medium grain rice (please do not use minute rice)
1 1/2 cup chicken stock or water
2 Tbsp butter
1/2 onion, finely chopped
1 clove of garlic, finely chopped
2 Tbsp dried cranberries or raisins
1/2 bell pepper, diced
Fresh chives and parsley, finely chopped

Directions
Step 1: In a medium saucepan, melt the butter over low heat.

Step 2: Add in the orzo and garlic. Toast till orzo is brown. Stir occasionally to avoid orzo and garlic from burning.

Step 3: Add in the dried cranberries and onions. Continue to cook over low heat till onion has softened.

Step 4: Add in chicken stock or water. Place lid to cover pan. Turn heat up to high till water comes to a boil. Immediately, turn heat down to low and let cook for 20 minutes.

Step 5: Once water is fully absorbed, add in the diced bell pepper. Place lid on pan. Continue to cook on low for 5 additional minutes.

Step 6: Remove pan from heat. Stir in the freshly chopped chives and parsley. Let rice sit for 5 minutes before serving.

Serve orzo rice pilaf with your favorite grilled meat and vegetables.


Monday, May 23, 2011

Warm Pastina Salad

I have a box of dried pastina sitting in the pantry for a while now. Initially, mum wanted to do something with it. That didn't happen. I wasn't in the mood for soup but thought I should be able to make a pasta salad with it. For those of you who has never use pastina, it is a small star shaped pasta that the Italians love using in soup for little children.


I like pastina as it is light and easy on the stomach. To jazz it up, I used the Chimichurri dressings which I have made previously and sauteed some vegetables to go with the pastina. The result is a quick and easy meal. Good enough on its own!

Warm Pastina Salad
(Serves 4)
Ingredients
1 cup dried pastina
5 Tbsp Chimichurri dressings
1 cup shredded cabbage
1/2 cup diced bell pepper
1/2 onion, finely diced
1 clove garlic, finely chopped
2 Tbsp olive oil
Dash of white wine
Zest of 1 lemon
Juice of 1 lemon
Salt & Black Pepper to taste

Directions
Step 1: Boil the pastina according to package direction. Drain well with a fine mesh strainer. Set aside.

Step 2: In a pan, heat 2 Tbsp olive oil. Saute the onion and garlic till onion is translucent.

Step 3: Add in the vegetables. Season with salt and pepper. Add in a dash of wine to help create steam to soften the vegetables. Cook for 3-5 mins till vegetables has softened slightly but still retain its crunch.

Step 4: In a large bowl, combine the sauteed vegetables, chimichurri dressings, lemon zest and juice. Season with more salt and pepper, if necessary.

Serve at room temperature or cold. It is perfect as a meal on its own or a side dish.


Friday, May 20, 2011

Lemon Orzo Verde with Cojita Cheese

I am officially in the "I love Orzo" community. With the arrival of the grilling season, pasta salad is a constant feature on the family dinner table. And what is better than a cold pasta salad as a side dish to accompany any grilled meats which you will be serving. Honestly, this lemon orzo verde salad is so perfect on its own. The only thing I will add to it is Mexican Cojita Cheese which resembles Greek's Feta minus the saltiness. Now, this is what I called "Yummy-licious!"

Lemon Orzo Verde with Cojita Cheese
(Serves 4)
Ingredients
1 cup dried orzo
1/2 tsp salt
5 cups of water
1/4 red onion, finely diced
2 cloves garlic, finely chopped
2 Tbsp canola or olive oil
A dash of white wine
2 cups sliced green beans or asparagus
1 cups diced bell peppers or 2 cups spinach leaves
Juice from 1 fresh lemon
Zest of 1 lemon
1/3 cup olive oil

salt and black pepper to taste
3 Tbsp freshly chopped parsley and chives
1 cup crumbled cojita cheese

Directions
Step 1: In a pot, bring 5 cups of water and 1/2 tsp of salt to a rolling boil. Add in orzo. Cook 10 minutes. Drain and set aside.

Step 2: In a pan, heat 2 Tbsp of olive or canola oil. Saute onion and garlic till aromatic. Add in green beans and bell pepper. Cook till softened slightly yet still retain its crunch. Add a splash of white wine to help steam the vegetables but do not cover the pan. You do not want the vegetables to be too soft.

Step 3: In a large bowl, combine lemon juice and lemon zest. Whisk in 1/3 cup of olive oil.

Step 4: Mix in cooked orzo and sauteed vegetables. Season with salt and pepper to taste. Add in freshly chopped parsley and chives. Serve warm, at room temperature or cold. Sprinkle some crumbled cojita cheese on top of the orzo salad.

Friday, April 15, 2011

Homemade Cheese Ravioli

What is your favorite Italian pasta dish?


My family and I love homemade cheese ravioli ever since I learned how to make Homemade Pasta. It all started with a birthday present from the world's greatest sis that I have. Knowing how much I love to cook and my obsession with kitchen gadget, my sis decided to buy me a pasta maker.

Needless to say, mom's first request was for me to try making homemade ravioli at home. When mom was young, her family used to get homemade ravioli made by Italian grandmothers running home-based food business out of their kitchen. That is way before FDA and state food production regulation come into place. Sadly, those home businesses were gone forever and no gourmet pasta place in town has been able to impress mom with their ravioli since.

That is until I tried making ravioli at home with homemade pasta dough. The process is tedious but well worth the effort. Mom said she loves the ravioli as it is not starchy and you can really taste the cheese filling in the ravioli. Best part is, it costs a lot less than buying ravioli at the gourmet pasta place and taste just as good if not better.

Homemade Cheese Ravioli
(Makes 48 large ravioli - Serves 5-7 per person as dinner entree)

For the pasta dough
1 homemade pasta dough recipe

For the cheese filling
24 oz ricotta cheese
1 large egg, beaten
3 Tbsp grated romano cheese
1 tsp black pepper
1 tsp chopped parsley (optional)

Water
1 tsp olive oil
1/2 tsp salt

Directions


Step 1: Prepare the pasta dough. Refer to the previous homemade pasta dough recipe here.


Step 2: Combine all the ingredients to make cheese filling in a large bowl. Have a dish of clean water ready on the side.


Step 3: On a piece of freshly made pasta dough, place 1 1/2 teaspoon of ricotta cheese filling for each ravioli. One sheet of pasta dough should yield about 6 raviolis. Cheese filling should be placed on the top side of the pasta sheet. Please be sure to leave enough room to form edges around the ravioli.


Step 4: Using your finger, dab water around the edges and the space in between the ricotta cheese filling on the dough.


Step 5: Fold the pasta over to enclose the ravioli filling.

Press on the pasta dough around the cheese filling to seal the edge.

Step 6: Cut the ravioli into individual pieces.
Step 7: Crimp the edges of the ravioli with the back of a fork to seal.


Step 8: Set ravioli aside and continue till all filling and pasta dough are used.


Step 9: In a large pot, bring water to boil. Add 1/2 tsp water and 1 tsp of olive oil to the water.


Step 10: As soon as water comes to a boil, drop ravioli into the water gently. Bring water back to a boil. Let cook for 5 mins. Remove ravioli from pot using a slotted spoon.


Step 11: Serve ravioli with Homemade Marinara Sauce or your favorite pasta sauce.


Note: If you have a ravioli mold at home, the process is a lot simpler. Just place a sheet of pasta on the mold. Fill the cheese filling into individual filling cup. Top with another sheet of pasta. Using a rolling pin, roll over the pasta dough. Tap the ravioli mold. The ravioli will fall right off. You get to make a dozen every time.